


Your mechanical keyboard works hard every day, collecting dust, crumbs, and who knows what else. Cleaning it might sound tricky, but it’s actually pretty simple. Whether it just needs a quick wipe or a deep clean, we’ll walk you through the steps to get your keyboard looking and feeling brand new again. Let’s dive in!
What You’ll Need
Before we dive in, grab these supplies. You probably have most of them at home already, and trust me, having everything ready will make the whole process smoother and faster.
Keycap puller
This little tool makes removing the keycaps super easy and prevents you from bending or damaging anything. If you don’t have one, no worries. You can use a flat, non-metal tool like a guitar pick or even a sturdy piece of plastic. Just be gentle - metal tools can scratch your keycaps or the keyboard frame.
Soft brush
A clean toothbrush works perfectly for this. The bristles are soft enough to avoid any damage but firm enough to get into those tricky spots between the switches. You could also use a makeup brush, a small paintbrush, or a brush made specifically for electronics.
Compressed air or a vacuum with a brush attachment
Compressed air is great for blowing out dust, crumbs, and pet hair from all the nooks and crannies. If you don’t have a can of air, a small handheld vacuum with a soft brush attachment can work just as well and has the bonus of sucking up the dirt instead of blowing it around.
Microfiber cloth
You’ll want something gentle that won’t scratch or leave behind fibers. A microfiber cloth is perfect for wiping down the keyboard surface without risking any damage. Old T-shirts or cotton cloths are not the best choice here - they can leave lint or snag on small parts.
Bowl with warm soapy water
A simple bowl filled with warm water and a drop of mild dish soap is all you need for cleaning keycaps. The warm water helps loosen grime, and the soap cuts through oils and sticky residue. Make sure the water is warm but not hot - you don’t want to warp the plastic.
Isopropyl alcohol
This one’s optional but highly recommended, especially if your keyboard has sticky keys or stubborn stains. Use a high concentration, like 70% or more, because it evaporates quickly and doesn’t leave moisture behind. It’s perfect for spot-cleaning and disinfecting.
Paper towels or a drying mat:
After washing the keycaps, you’ll need a place to dry them. Paper towels are quick and easy, but a drying mat works even better because it allows air to circulate all around the keycaps. Just make sure everything is completely dry before putting the keyboard back together.
Pro Tip:Set up your cleaning station at a table or desk with plenty of room to work. If you’re worried about losing any small pieces, lay down a large towel or a tray to keep everything contained. It makes cleanup faster and prevents any small parts from rolling away.
Step-by-Step Guide
Step 1: Unplug and Prep
Start by unplugging your keyboard. It seems obvious, but it’s easy to forget. Water and electronics are a terrible combo. Once it’s unplugged, find a good clean spot to work. If you want to avoid losing any keycaps or small parts, you might want to spread out a towel or large cloth over your workspace.
Step 2: Remove the Keycaps
This is the fun part. Use a keycap puller or your DIY tool to gently pop off each keycap. If you’re worried about remembering where everything goes, snap a quick photo of the keyboard before you start. That way, reassembly is a breeze. Don’t force anything - most keycaps come off with a little wiggle and lift.
Step 3: Clear Out the Big Stuff
Hold the keyboard upside down and give it a gentle shake. You’d be surprised how much debris falls out. After that, use compressed air to blast out anything hiding around the switches. If you don’t have compressed air, a small vacuum with a brush attachment works just as well to suck out the mess.
Step 4: Deep Clean the Keycaps
While the board is airing out, it’s time to give your keycaps a bath. Fill a bowl with warm water and a few drops of dish soap. Let the keycaps soak for about 20 to 30 minutes. If they’re extra grimy, you can give them a quick scrub with a toothbrush. After soaking, rinse them off with clean water and lay them out on a towel to dry. Pat them down with paper towels if you’re in a hurry, but make sure they’re completely dry before putting them back.
Step 5: Tackle the Board
Now, back to the keyboard. Use a soft brush to carefully sweep around the switches. If you find sticky spots or stubborn dirt, lightly dip a microfiber cloth or a cotton swab in isopropyl alcohol and clean those areas. Be gentle and careful not to let any liquid drip into the switches.
Step 6: Dry Everything
Before you reassemble anything, double-check that everything is dry. Keycaps should be completely dry, and the keyboard should not have any leftover moisture around the switches or plate. If you’re impatient, you can use a fan to speed up the drying process, but avoid using a hairdryer unless it’s on a cool setting.
Step 7: Reassemble and Enjoy
Now it’s time to put everything back together. Line up the keycaps and press them firmly onto the switches. Refer back to the photo you took earlier if you’re unsure where each key goes. Once everything is back in place, plug the keyboard in and give it a quick test to make sure all the keys work properly. Congrats - you’re done!
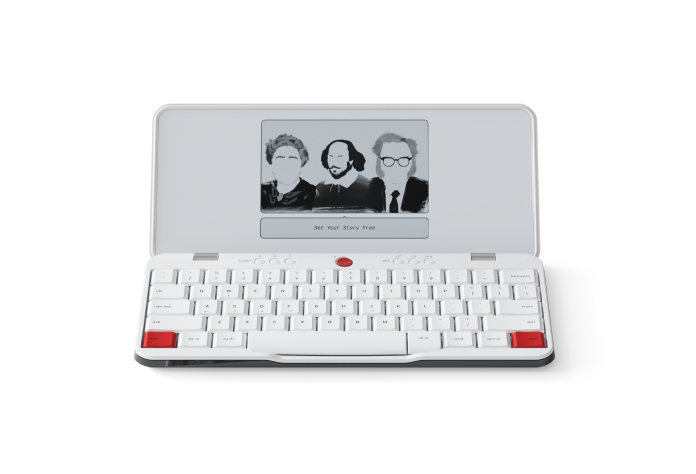
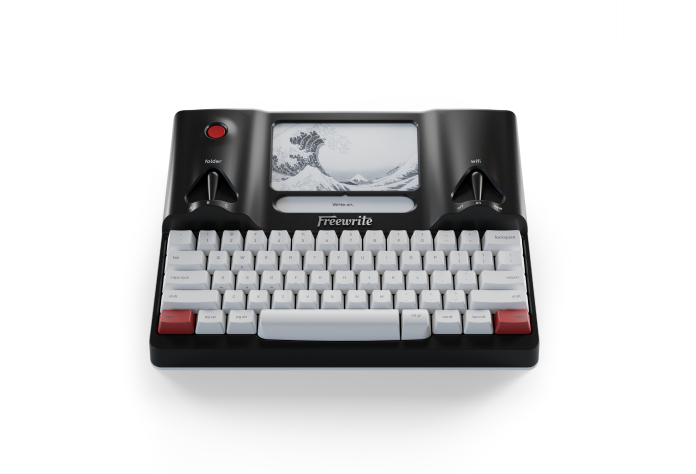
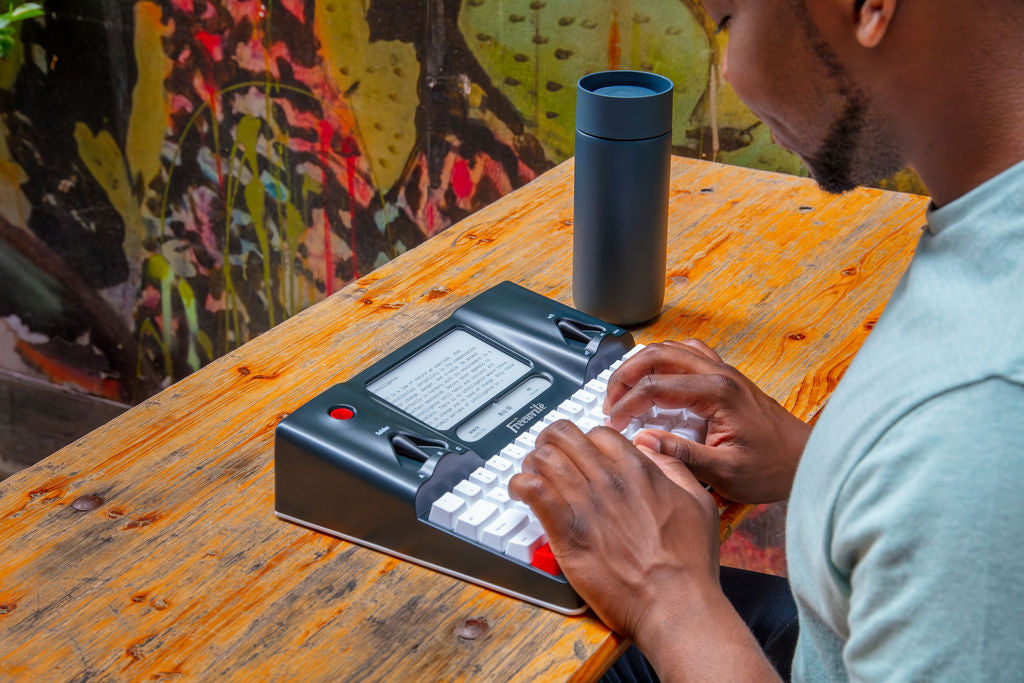
Meet Wordrunner: A Mechanical Keyboard Built for Writers
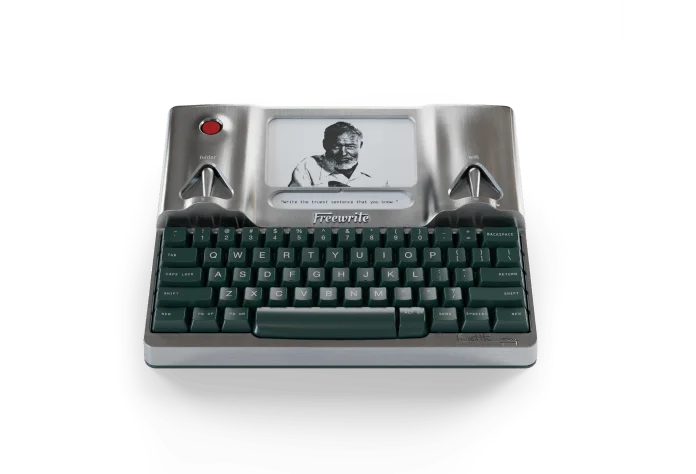
Now that you know how to keep your keyboard clean and in top shape, let’s talk about a tool designed for serious writers: theWordrunner Mechanical Keyboard.
After spending years helping writers with distraction-free tools, we realized something was missing. Writers needed a keyboard designed just for them - not one built for gamers or general use, but something built from the ground up for serious, focused writing. That’s why we created the Wordrunner Mechanical Keyboard atFreewrite. We wanted to design a tool that feels as good as the words you put into it, with a solid die-cast aluminum body that stays firmly in place, no matter how fast or how long you type.
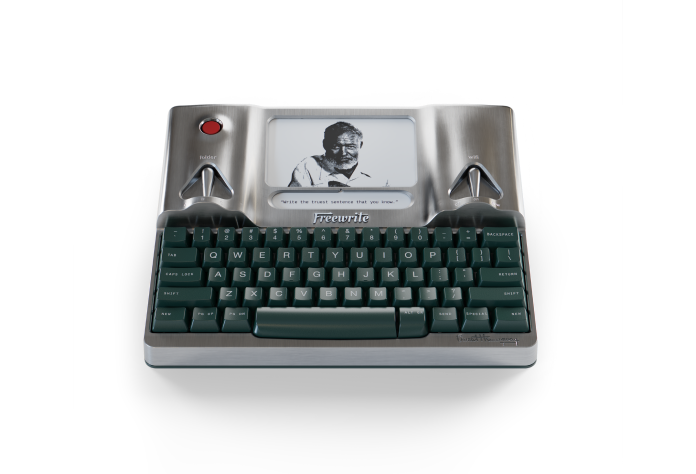
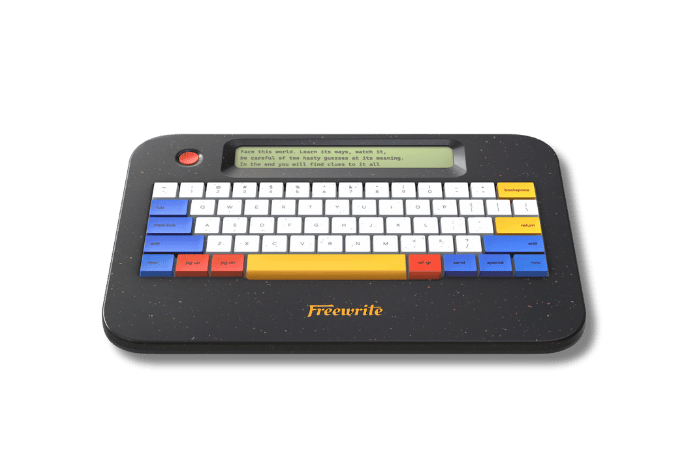
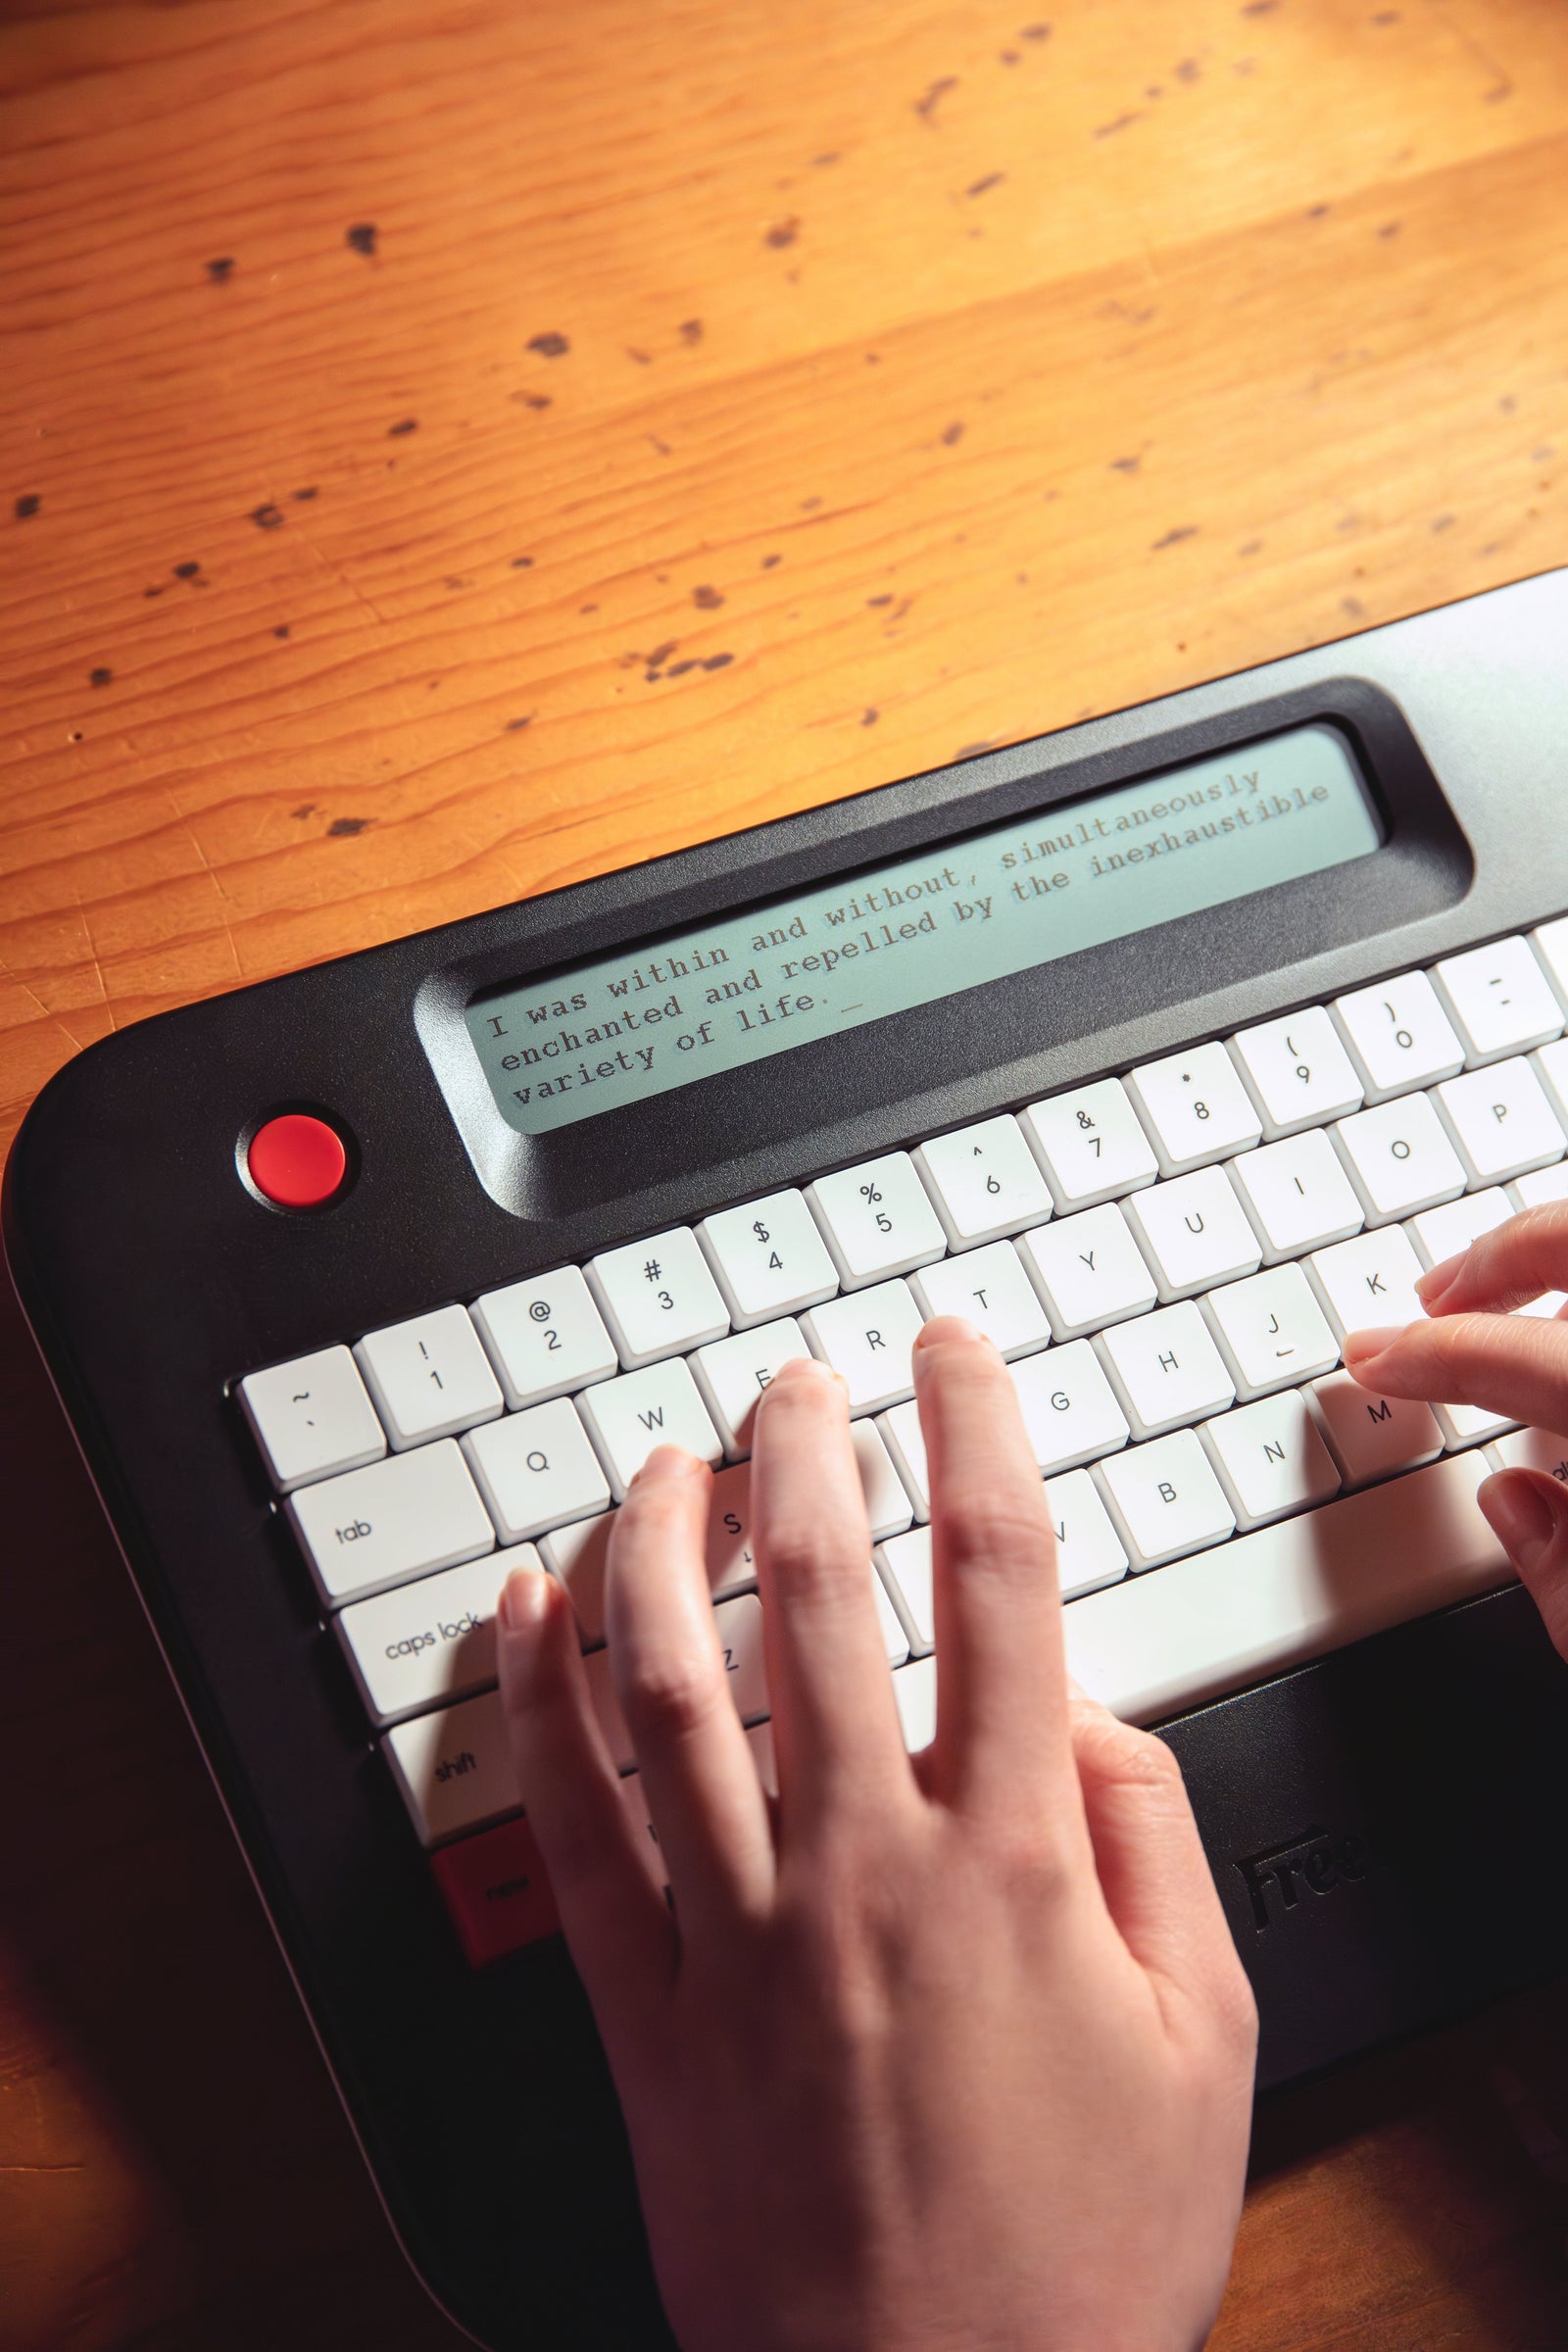
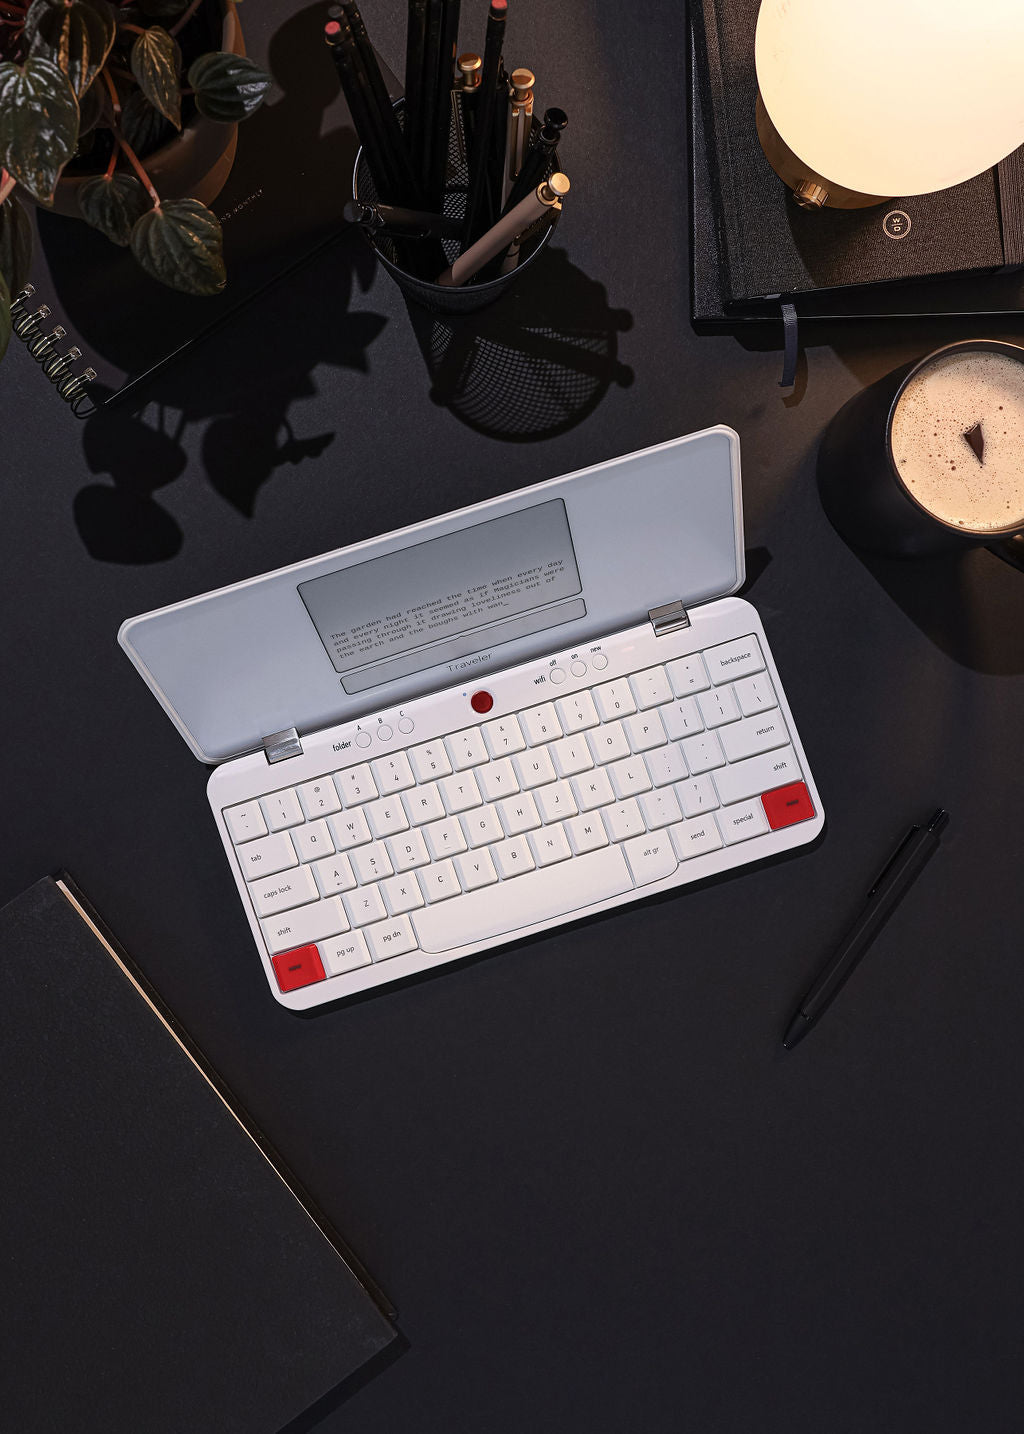
With Wordrunner, we introduced the real-time 8-digit mechanical Wordometer. It physically tracks your word count and keeps it visible even when the keyboard is powered off. No more switching apps or getting distracted checking progress, it’s all right there at your fingertips. We also built in a sprint timer to help you stay in flow, whether you prefer timed writing sessions or long, uninterrupted marathons. Everything about Wordrunner, from the tactile switches rated for 80 million presses to the customizable macro keys and seamless Bluetooth and USB connections, was made with writers in mind. Our goal was simple: to create a keyboard that feels satisfying, supports serious writing, and stands the test of time.
If you’re ready to experience writing momentum like never before, we invite you to visit theWordrunner Kickstarter. Backing now secures your place in one of the first production batches and locks in special preorder pricing. We can’t wait for you to try Wordrunner and make it part of your writing journey.
Now, let’s get back to the topic and talk about how to keep any mechanical keyboard clean and working like new.
What to Do If You Spill Something
Spills happen. Whether it’s coffee, soda, water, or something stickier, don’t panic. Acting fast can save your keyboard and prevent serious damage. Here’s exactly what you should do:
-
Unplug the keyboard immediately:The first thing you need to do is disconnect it from your computer. Even if it’s wireless, take out the batteries. Electricity and liquid are a bad mix, and unplugging it right away lowers the risk of short-circuiting anything inside.
-
Flip it upside down to let the liquid drain out:Turn the keyboard over and let gravity do the work. The faster you flip it, the better chance you have of keeping liquid from seeping deeper into the switches or the circuit board. If possible, prop it up in a tent shape or rest it against something so it stays upside down.
-
Remove the keycaps and gently wipe off as much liquid as you can:Once you’ve drained as much as possible, carefully pop off the keycaps. Use a soft cloth or paper towels to blot any visible liquid on the surface. Focus on absorbing the liquid, not spreading it around. Avoid pressing too hard - you don’t want to push the liquid further into the keyboard.
-
Let the keyboard air dry for at least 24 to 48 hours:This step is important: be patient. Don’t try to rush things with a hairdryer or heater because excess heat can warp plastic parts and cause even more damage. Just leave it in a warm, dry place with good airflow. A fan can help speed things up a bit, but the key is to let it dry naturally. For extra precaution, you can leave it drying upside down the entire time.
-
Resist the urge to test it too soon:It’s tempting to plug it back in to see if it still works, but give it a full day or two to dry out. Plugging it in while there’s still moisture inside could fry the internal components permanently.
Why Quick Action Matters:
Quick action can make the difference between a simple clean-up job and a completely ruined board. Liquids, especially sugary or acidic ones like soda or coffee, can corrode the tiny electronic parts inside if left sitting. Even plain water can cause rust or short circuits if it doesn’t dry properly. Acting fast protects your keyboard and could save you the cost of replacing it.
How Often Should You Clean Your Mechanical Keyboard?
How often you clean your keyboard really depends on how you use it. For most people, a light cleaning once every couple of weeks is enough. This can be as simple as wiping the surface with a microfiber cloth, brushing away visible dust, and giving it a quick upside-down shake to knock loose any crumbs hiding underneath the keys. If you’re someone who uses your keyboard daily for work, gaming, or general internet browsing, keeping up with light cleaning helps prevent buildup and keeps your keyboard feeling fresh.
For deeper cleaning - like removing keycaps and scrubbing the board - once every 1 to 3 months is a good rule of thumb. If you rarely eat or drink at your desk and keep things pretty tidy, you might stretch it closer to three months. But let’s be real - if you’re snacking, drinking coffee, or sharing your desk with pets, you’ll probably want to deep clean it a little more often. Food particles, oils from your fingers, and dust can sneak in faster than you think.
Ultimately, setting a regular schedule based on your habits will not only make each cleaning session quicker but will also extend the life of your keyboard. A well-maintained mechanical keyboard can last for years, delivering the same satisfying clicky or smooth keystroke feel day after day. Plus, who doesn’t love typing on a keyboard that looks and feels as good as new?
Final Tips for Keeping It Clean Longer
Keeping your keyboard clean doesn’t have to be a huge chore. With a few small habits, you can seriously cut down on the dust, crumbs, and grime that find their way onto your keys. First off, always wash your hands before typing. It sounds simple, but clean hands mean less oil, dirt, and food residue transferring onto your keycaps. Over time, this one habit can make a big difference in how your keyboard looks and feels.
Another good rule: try not to snack over your keyboard. We all do it sometimes, but crumbs and spills are one of the fastest ways to turn a clean keyboard into a sticky mess. If you can, save the chips and cookies for a break away from your desk. If that’s not realistic (no judgment here), at least try to keep a napkin or plate under your food to catch the worst of the fallout.
When you’re not using your keyboard, cover it up. You can get a cheap dust cover online, or even just drape a clean cloth over it. This keeps dust, pet hair, and accidental splashes at bay. Also, give your keyboard a quick dusting once a week. It only takes a minute or two with a soft brush or a microfiber cloth, but it keeps buildup from getting out of hand.
Here’s a quick recap to keep your keyboard clean longer:
-
Wash your hands before typing.
-
Avoid eating over your keyboard.
-
Use a cover when the keyboard is not in use.
-
Dust it off with a soft brush or cloth once a week.
-
Keep drinks at a safe distance to avoid spills.
-
Store the keyboard in a drawer or cover it if you’re stepping away for long periods.
-
Do light cleanups regularly so dirt doesn’t have a chance to build up.
Small habits like these go a long way. They not only keep your mechanical keyboard looking nice but also help it perform better for longer. A little prevention now saves you from having to do major cleanups later - and keeps every keystroke feeling as good as the first.
Conclusion
Cleaning your mechanical keyboard might sound like a hassle, but once you get the hang of it, it’s really no big deal. A little bit of regular care goes a long way in keeping your keyboard looking sharp and working smoothly. Whether you’re giving it a quick dusting every week or going all-in with a deep clean every few months, your keyboard - and your typing fingers - will definitely thank you.
Remember, a clean keyboard doesn’t just look better, it feels better too. Plus, it can extend the life of your favorite piece of gear. So grab your tools, set aside a little time, and show your keyboard some love. Happy cleaning!
FAQ
How often should I clean my mechanical keyboard?
Light cleaning once every couple of weeks is a good habit. Deep cleaning with keycap removal is best done every 1 to 3 months, depending on how much you use it and whether you eat or drink at your desk.
Can I use water to clean my keyboard?
You can use water to clean the keycaps, but not the keyboard itself. Always keep water away from the switches and circuits. For the keyboard body, stick to a lightly dampened microfiber cloth or use isopropyl alcohol for spot cleaning.
What if I don’t have a keycap puller?
No problem. A flat, non-metal tool like a guitar pick can work. Just be careful not to scratch or damage the keycaps or switches.
Is compressed air safe for keyboards?
Yes, compressed air is safe and effective for blasting away dust and crumbs. Just make sure to hold the can upright and avoid tilting it, which can cause the can to spray liquid propellant.
What should I do if I spill liquid on my keyboard?
Immediately unplug it, flip it upside down to drain, remove the keycaps, and dry it thoroughly. Let it air dry for 24 to 48 hours before plugging it back in. Acting fast can make the difference between saving or replacing your keyboard.
Can I use a vacuum cleaner instead of compressed air?
Yes, a small handheld vacuum with a brush attachment can help remove dust and debris. Just be gentle to avoid damaging any delicate parts.