


Ever wondered how to build your own mechanical keyboard? Well, it's easier than you think! Whether you're a typing enthusiast or someone who just loves the clickity clack of mechanical keys, creating your own keyboard gives you complete control over design, feel, and function. In this guide, we'll walk you through each step, from choosing the right switches to putting everything together. Ready to start? Let's dive in!

Why Build Your Own Mechanical Keyboard?
Before diving into the details of building a mechanical keyboard, it's important to understand the benefits of taking the DIY route. One of the biggest advantages is customization. By building your own keyboard, you have full control over every aspect, from the switches to the keycaps to the layout. This means you can create a keyboard that suits your exact typing needs and preferences, whether you're looking for a quiet, tactile typing experience or a fast, linear one.
Another key benefit is quality. When you build your own keyboard, you can select high-quality parts that outperform the typical off-the-shelf models. You have the power to choose components that enhance the durability, feel, and overall performance of the keyboard, ensuring a better typing experience in the long run.
The process of building your own keyboard is also a rewarding experience. It's like assembling a puzzle or working with LEGO blocks, but with a real, functional result. This hands-on project helps you learn valuable skills, from soldering to understanding how mechanical switches work, providing a deeper appreciation for your keyboard.
Lastly, repairability is another important factor. Unlike mass-produced keyboards, where you typically need to replace the entire unit if something goes wrong, a custom keyboard allows you to replace individual parts. This makes it easier to fix any issues that arise, ensuring your keyboard lasts longer and can be updated or repaired over time.
Introducing Wordrunner: A Mechanical Keyboard Built for Writers
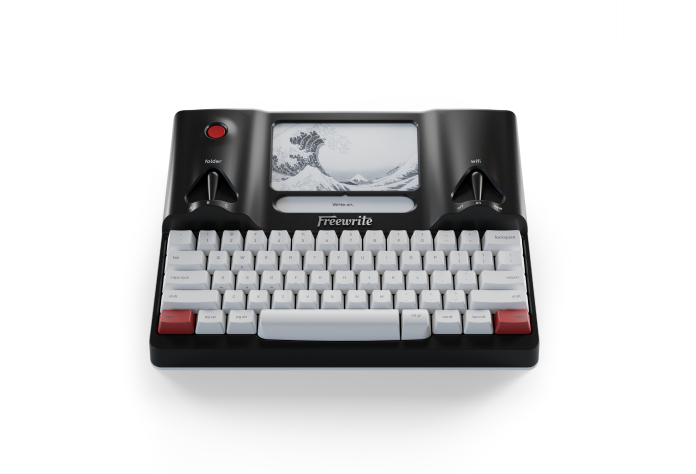
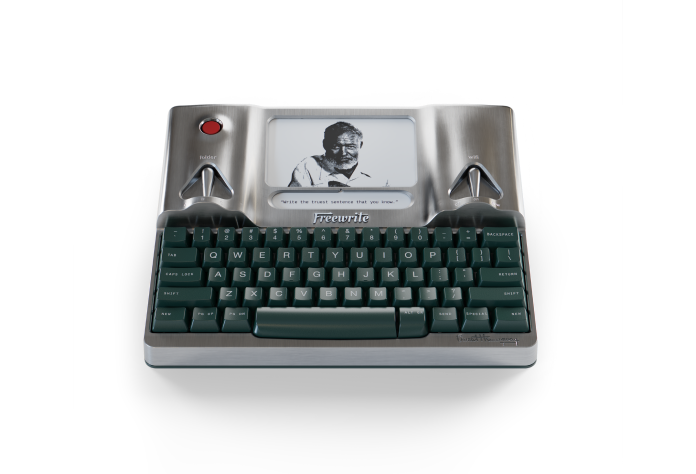
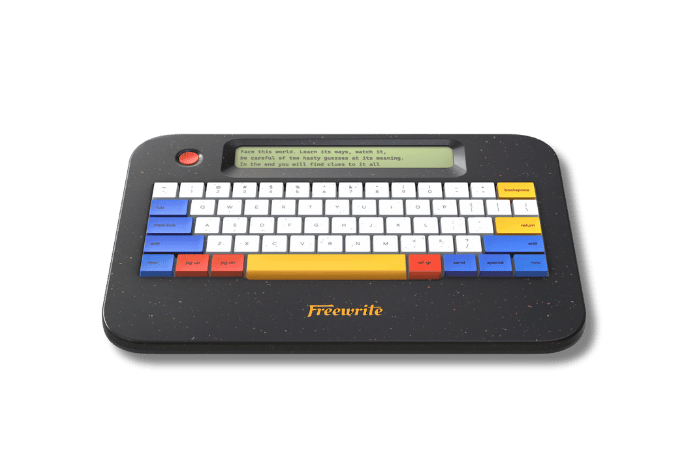
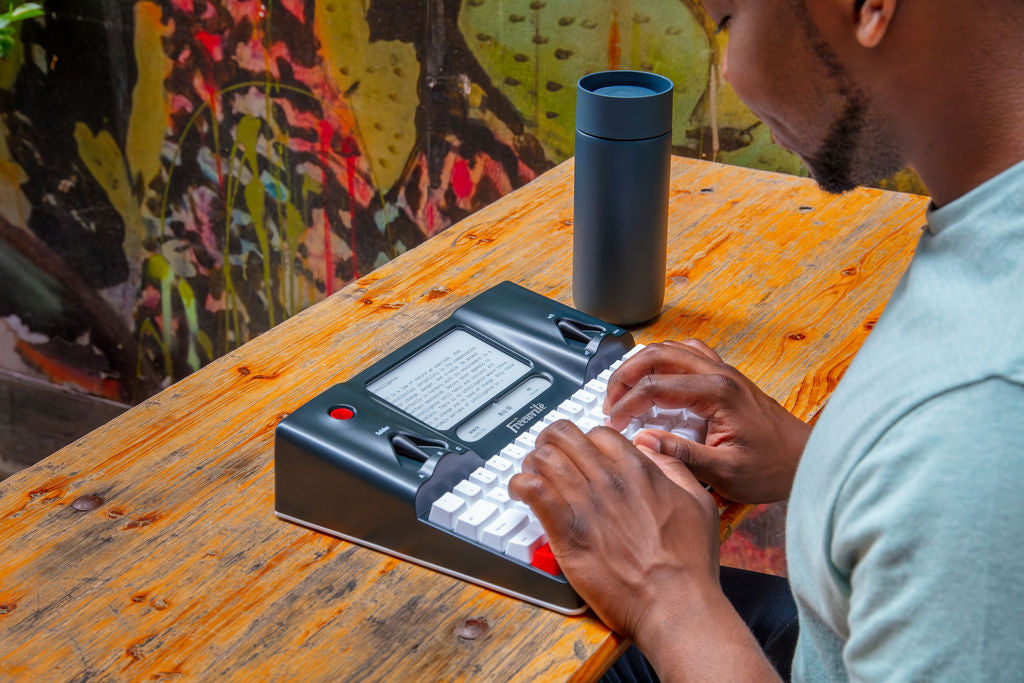
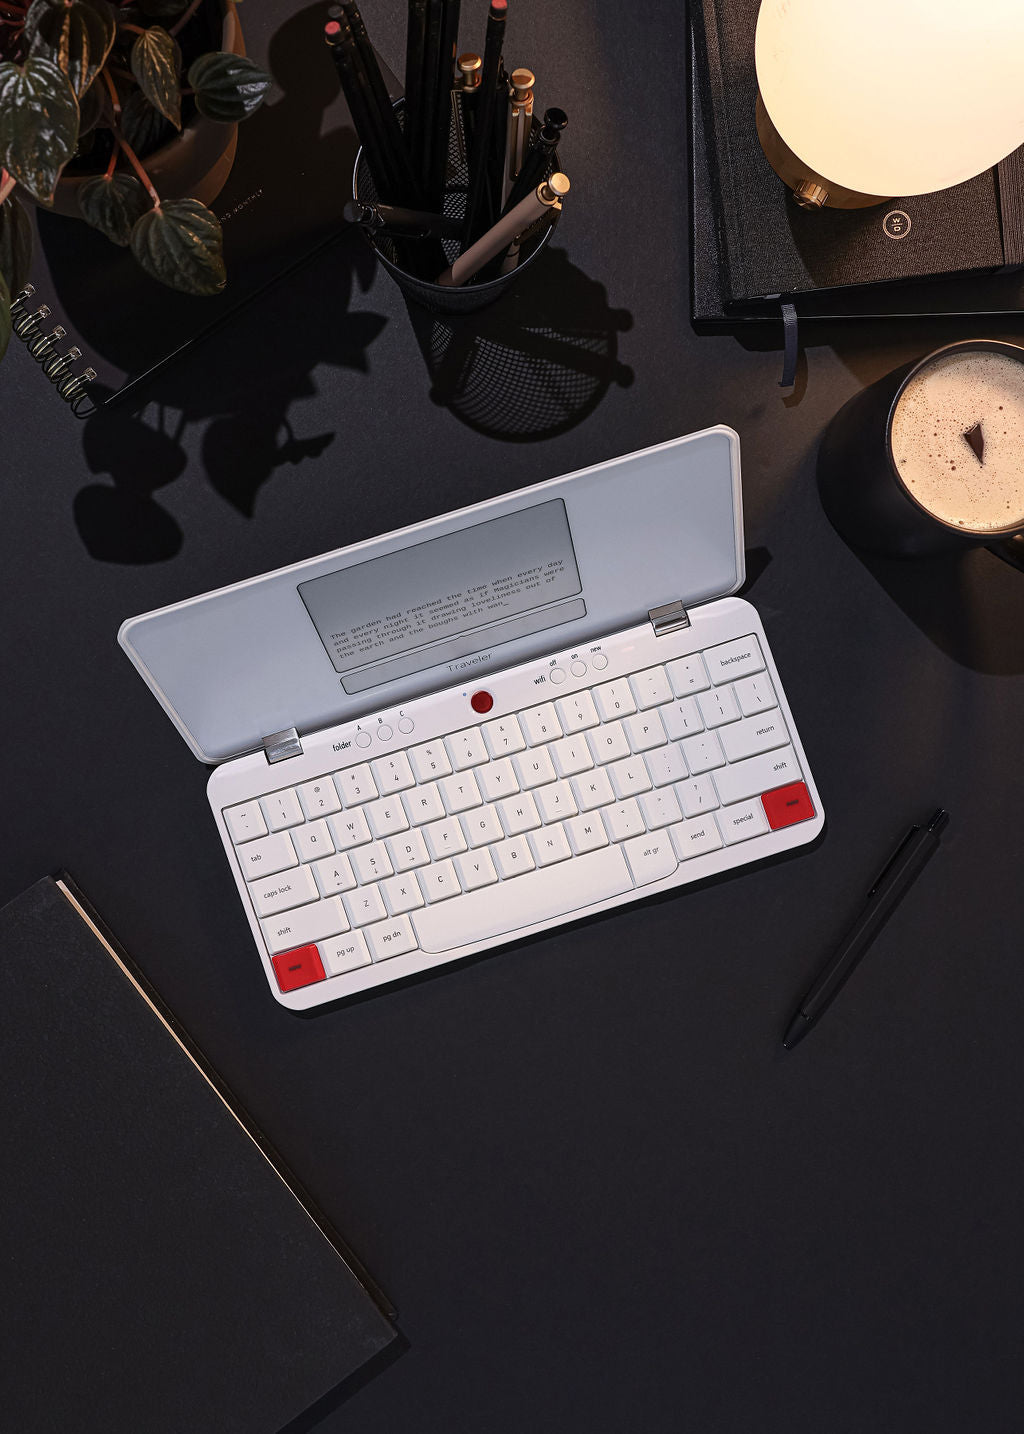
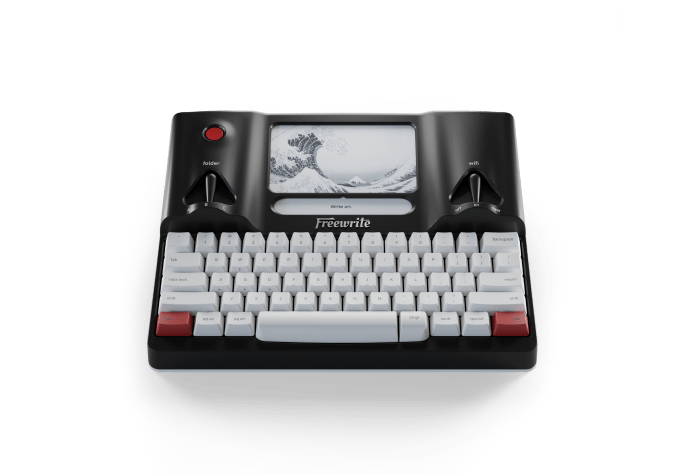
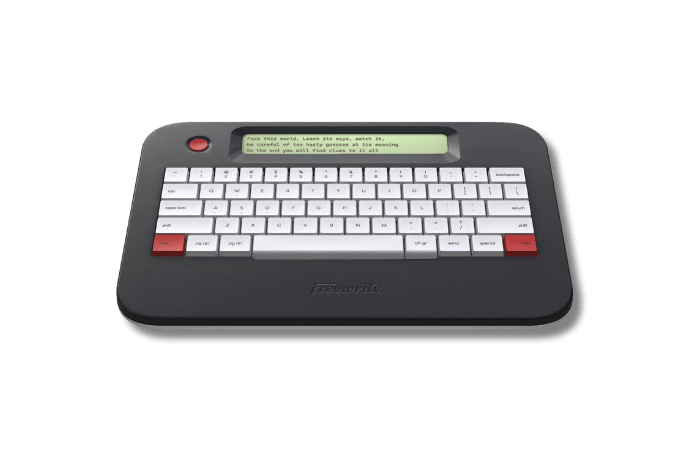
If building a keyboard from scratch feels daunting, or if you’re a writer seeking a ready-to-use solution, consider the FreewriteWordrunner, a mechanical keyboard designed specifically for writers.
As creators of Wordrunner, we wanted to elevate the writing experience by developing a tool that’s not just functional but optimized for productivity. Unlike traditional mechanical keyboards that require customization and assembly, Wordrunner is a fully built, ready-to-use device designed with one purpose in mind: to help writers work more efficiently and creatively.
One standout feature of the Wordrunner is the 8-digit mechanical Wordometer, a world-first that physically tracks your word count in real time. As you type, the Wordometer gives you instant, tactile, and audible feedback, making it easier than ever to stay focused on your writing goals without getting distracted. Whether you’re tracking progress for a specific project, session, or even your lifetime word count, the Wordometer makes sure you’re always aware of your progress.
With customizable function keys like Find, Replace, and Undo, along with a multi-directional joystick for media control, Wordrunner is a powerful, all-in-one keyboard. It’s the perfect tool for writers who demand efficiency, focus, and comfort in their work. Whether you’re working on a novel, an essay, or any writing project, Wordrunner delivers a satisfying, durable, and distraction-free experience that allows you to focus entirely on your words.
Now, if you’re excited to unleash your creativity, let’s dive into building your own mechanical keyboard, where you can personalize every detail, from switches to keycaps, to craft the perfect typing experience.
Understanding the Key Components of a Mechanical Keyboard
Keyboard Case
The keyboard case serves as the external structure of your mechanical keyboard, housing all the components and determining the overall aesthetic and feel of the keyboard. When choosing a case, you have several material options:
-
Plastic cases are lightweight, affordable, and can produce a quieter sound profile. These cases are often easier to modify and more budget-friendly.
-
Aluminum cases add weight, contributing to a more solid, premium feel. They often provide a more resonant sound profile, making them ideal for a higher-end build.
-
Wooden cases offer a vintage and natural aesthetic. They produce a softer sound and are heavier and more expensive, but they provide a unique, organic texture.
The choice of case material plays a significant role in the weight, durability, and acoustics of your keyboard.
PCB (Printed Circuit Board)
The PCB is the central component that connects all of the switches and enables the keyboard to function. It comes in two main types:
-
Hot-swap PCBs allow you to change switches without soldering, providing flexibility and making them ideal for beginners or those who want to experiment with different switches.
-
Solderable PCBs require soldering each switch into place, offering more customization in switch layout and better stability, but requiring soldering skills.
Choosing between a hot-swap and solderable PCB depends on your experience level and how permanent you want your switch choices to be.
Keyboard Plate
The plate is responsible for mounting the switches and stabilizers in place and helps influence the overall typing feel and sound. You’ll find several materials available:
-
Aluminum plates provide a balanced, stable feel with a sharp, clear sound.
-
Brass plates are rigid, which results in a firmer typing experience and a brighter, more defined sound.
-
Polycarbonate and POM plates are more flexible and result in a softer, deeper sound that is quieter compared to metal plates.
Your choice of plate material will affect both the acoustics and the feel of your typing experience.
Stabilizers
Stabilizers are used for larger keys, such as the spacebar, enter, and shift keys, to prevent wobbling and inconsistent keystrokes. They come in several types including clip-in and screw-in stabilizers, with options like snap-in or wire-in also available.
-
Clip-in stabilizers are easier to install but may not offer the same level of stability as screw-in stabilizers.
-
Screw-in stabilizers provide a more stable and secure fit, offering a more solid typing experience.
Lubrication can improve smoothness and reduce noise, though excessive lubrication may cause stickiness, so apply it carefully to enhance the overall feel of the keyboard.
Switches
Switches are the most crucial part of the mechanical keyboard experience, determining the feel and sound of each keystroke. The three primary switch types are:
-
Linear switches provide smooth keystrokes without tactile bumps or clicks, making them ideal for fast typing and gaming.
-
Tactile switches have a noticeable bump when the key registers, providing feedback that’s popular among typists who prefer control over their keystrokes.
-
Clicky switches offer a tactile bump along with an audible click, satisfying those who enjoy auditory feedback while typing.
Your choice of switch will depend on your typing style, whether you prioritize smoothness, control, or feedback.
Keycaps
Keycaps are the plastic covers placed on top of the switches. They come in a variety of materials, profiles, and designs:
-
PBT keycaps are more durable and resistant to wear, offering a deeper, more pleasing sound profile.
-
ABS keycaps are lighter and cheaper, but they tend to wear out and shine over time, producing a higher-pitched sound.
-
Keycap profiles like Cherry, SA, and OEM determine the height and shape of the keys, affecting both comfort and aesthetics.
Keycaps are the final touch that allows you to customize your keyboard's appearance while also impacting the typing experience. Whether you prefer a particular profile, material, or design, keycaps play a significant role in the overall feel and look of your keyboard.

Steps to Build Your Own Mechanical Keyboard
Now that we’ve covered the essential components, let's go through the actual process of building your own mechanical keyboard.
Step 1: Gather Your Parts
Before you start building, make sure you have all the necessary parts. Here's a checklist of what you'll need:
-
Keyboard Case: Choose the material and layout that suits you.
-
PCB: Decide between a hot-swap or solderable PCB.
-
Plate: Select the material that matches your desired typing feel.
-
Stabilizers: Ensure you have the right size for your layout.
-
Switches: Pick the switches that fit your typing preferences.
-
Keycaps: Choose keycaps based on material and profile.
-
Lubricants: If you're lubing your switches and stabilizers, grab the necessary tools and lubricant.
-
Tools:Include a precision screwdriver kit and tweezers for assembly
Step 2: Test Your PCB
Before assembling everything, it's a good idea to test your PCB. If you're using a hot-swap PCB, this step is easier as you can plug it in and test it without assembling the whole board. Use programs like VIA or VIAL to test each key by tapping it with tweezers. If a key doesn't register, you can troubleshoot and fix the issue before proceeding with the build.
Step 3: Lube Your Stabilizers and Switches
Lubing your stabilizers and switches can improve both the feel and sound of your keyboard. Start by lubing the stabilizers to ensure that larger keys like the spacebar don’t rattle. After that, move on to lubing your switches (if you’re not using pre-lubed ones). This step can be time-consuming, but it’s well worth the effort for a smoother typing experience.
Step 4: Install Stabilizers and Switches
With your stabilizers lubed and your switches ready, it's time to install them onto the PCB. The order depends on your stabilizer type: for screw-in stabilizers, first place your stabilizers on the PCB where the larger keys will go and ensure they're properly secured; for clip-in stabilizers, install switches first and then add stabilizers.
Next, install the switches. If you're using a hot-swap PCB, simply pop the switches into the sockets. If you're using a solderable PCB, make sure each switch is properly aligned with the PCB before soldering. Ensure all switches are flush and securely placed
Step 5: Assemble the Case
Once your switches and stabilizers are in place, it’s time to put everything into the case. If you’re building a gasket-mounted keyboard, install the gaskets to reduce vibrations and improve sound dampening. Next, carefully insert the PCB/plate assembly into the case and secure it with screws if necessary. Make sure the PCB is aligned correctly with the case.
Step 6: Add Keycaps
With your keyboard assembled, it's time to add the keycaps. Simply press them down onto the switches, ensuring they are properly aligned. The keycaps are what will give your keyboard its final look, so take the time to choose a set that matches your style.
Step 7: Final Testing and Adjustments
Once the keycaps are installed, plug in your keyboard and test it once again. Check each key to ensure it's functioning correctly. If you notice any issues, you can open the case and make adjustments. Additionally, this is the time to make any sound tweaks, such as adding more foam or changing keycaps to adjust the acoustics.
Additional Tips and Considerations
When building your keyboard, selecting the right layout is essential for a comfortable typing experience. If unsure, start with a 75% or TKL (Tenkeyless) layout. These options save desk space while still including the essential keys like the function row and arrow keys. They offer a good balance between a full-size board and a more compact layout, such as 60% or 65%, which may feel too cramped for some.
The mounting style also influences typing feel. If you prefer a softer experience, consider a gasket mount, which isolates the PCB to reduce vibrations. For a firmer, feedback-heavy feel, go for a top-mount or sandwich-mount case. These provide more structure and are preferred by enthusiasts for their tactile feedback.
Finally, choose your switches based on use. Linear switches are smooth and fast, great for gaming. Tactile switches offer a bump for feedback, ideal for typing. If you enjoy sound, clicky switches provide both tactile feedback and an audible click. Pick what best suits your typing style.
Conclusion
Building your own mechanical keyboard can seem daunting at first, but it’s a highly rewarding experience. From picking the right components to assembling everything carefully, the process allows you to create a custom typing experience that suits your personal preferences. Take your time with each step, and don’t be afraid to experiment with different components. The end result will be a keyboard that is uniquely yours - perfectly designed to fit your typing style and aesthetic preferences. Happy building!
FAQ
Do I need any experience to build my own mechanical keyboard?
No prior experience is required, especially if you choose a hot-swap PCB, which doesn’t require soldering. There are plenty of guides to help you through the process, making it beginner-friendly.
What tools do I need to build a mechanical keyboard?
At a minimum, you’ll need a precision screwdriver kit, tweezers, lubricants, and, if using a solderable PCB, a soldering iron and solder.
How do I choose the right switches for my keyboard?
Choose switches based on your typing style: linear switches for smoothness, tactile switches for feedback, and clicky switches for sound.
What’s the difference between a hot-swap PCB and a solderable PCB?
Hot-swap PCBs allow easy switch changes without soldering, while solderable PCBs require you to solder the switches, offering more flexibility.
Can I change keycaps after I’ve built my keyboard?
Yes, keycaps can be easily swapped at any time to change the look or feel of your keyboard.
How long will my custom mechanical keyboard last?
With proper care, a custom mechanical keyboard can last many years, especially if you use high-quality components and maintain it well.